Help
Guidance & Tutorials
Registering with WiggyWam takes minutes to complete as most of the information should already be available on your company website. The person responsible for registering your branch will create 2 profiles (one for themselves and the company profile).
WiggyWam is an interactive platform (like LinkedIn etc.) and therefore encourages all branch staff to register their free individual profiles: having a presence provides more opportunities to promote your agency, build and nurture relationships and generate leads.
Required sign-up information
Note: this mandatory detail populates multiple areas of WiggyWam including the Portal, your Marketplace listing and the Collaboration areas. You need to provide:
•Your profile picture
•User name (we advise a single string like 'TimothySmith' or 'CoastalEstateAgents’)
•Job title
•Branch name, address, telephone, mobile and email
•Website URL
•Branch logo
•A cover image (similar to Facebook, Twitter & LinkedIn)
•Company bio (copy from the About Us page from your website.)
•Any regulatory bodies & associations your agency is a member of i.e. ARLA
Step 1
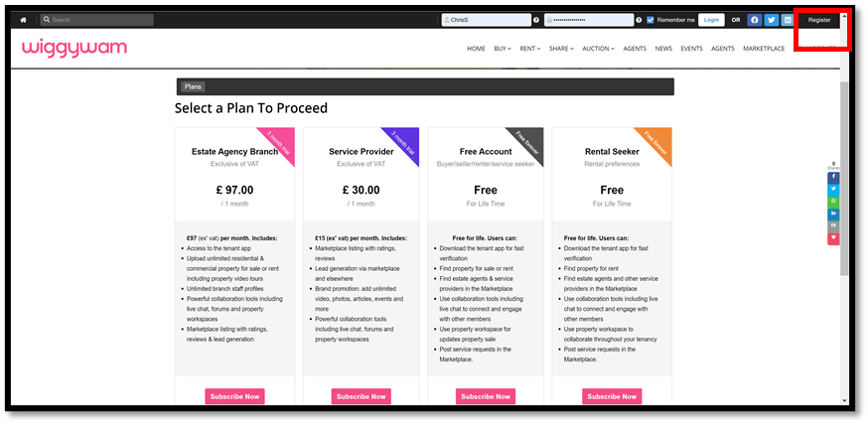
WiggyWam has a quick access toolbar menu at the top of every page, click on Register (top right corner of toolbar) then select the Estate Agency Branch plan and click Subscribe Now
Step 2
Next click on Register for a New Account Today (make sure the details are correct, for example, if you were offered a free trial period the price should display a zero)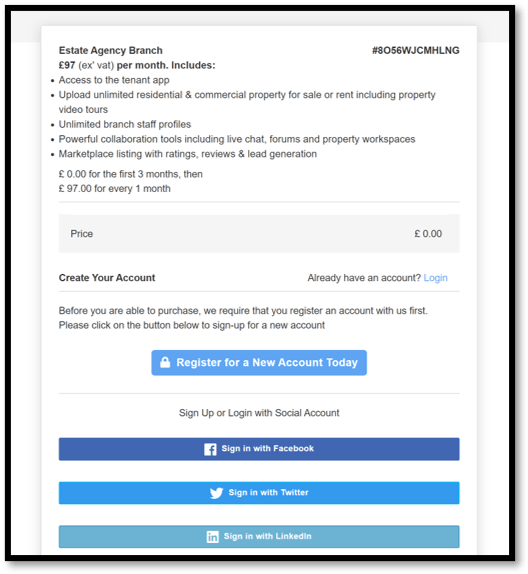
Step 3
Complete your profile details. Note: spaces are not allowed in username and a single string capitalising the first and last name looks good for agent profiles.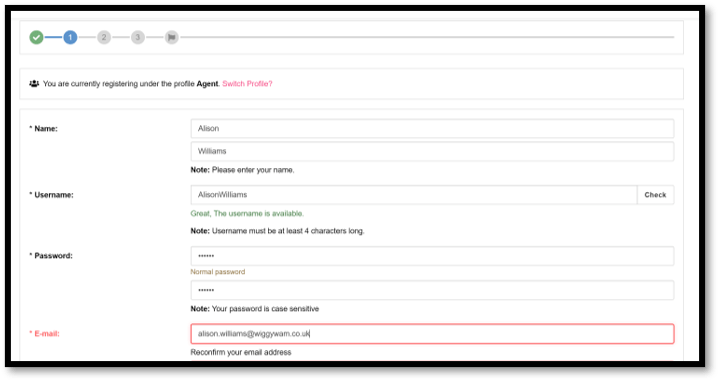
Step 4
The following fields are required because they populate multiple areas of WiggyWam including Portal, Marketplace and Collaboration areas and saves loads of time.

Step 5
A profile picture helps attract potential clients (a friendly face is more approachable than a logo or avatar). If your agency is active on social media we suggest using the same cover photo as you use on those channels for brand consistency.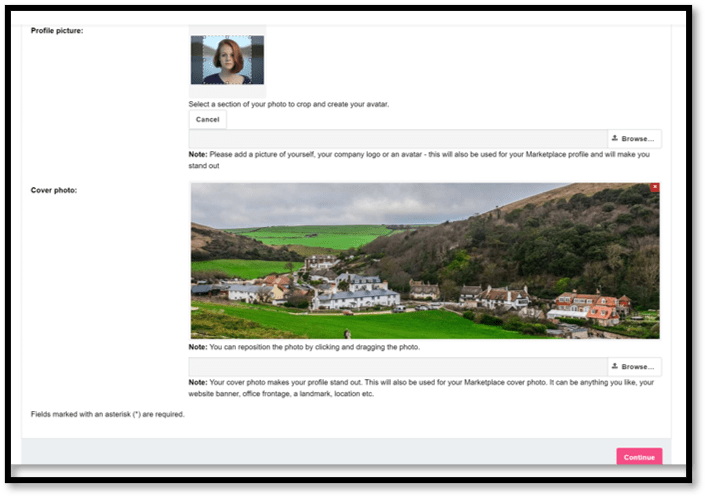
Step 6
If your company does not exist in the dropdown list, add it to the Company Name field. If your branch is part of a chain you will be able to add your branch address so you are easily identifiable. Complete all remaining fields.
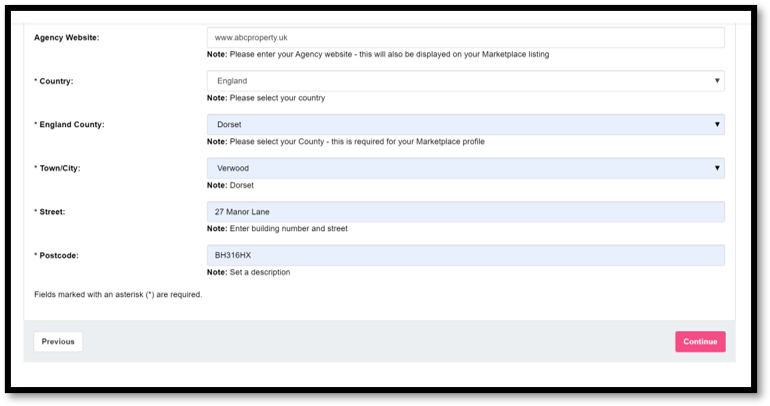
Step 7
Complete all address fields. Note: if your Town/City is missing from the list please let us know so we can add it – we will also update your profile with correct values.
Step 8
Please select one or more regulatory bodies or associations that your branch is an active member of. Note: if any are missing let us know so we can add it.
In the future these will be automatically verified by those agencies.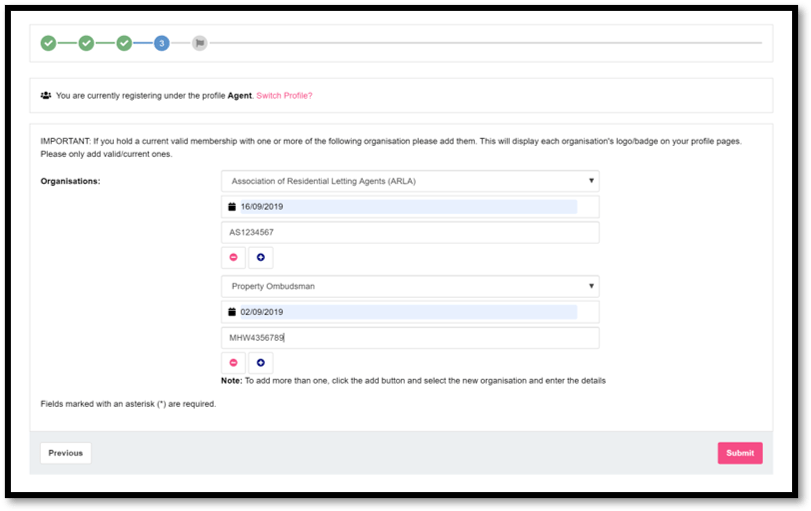
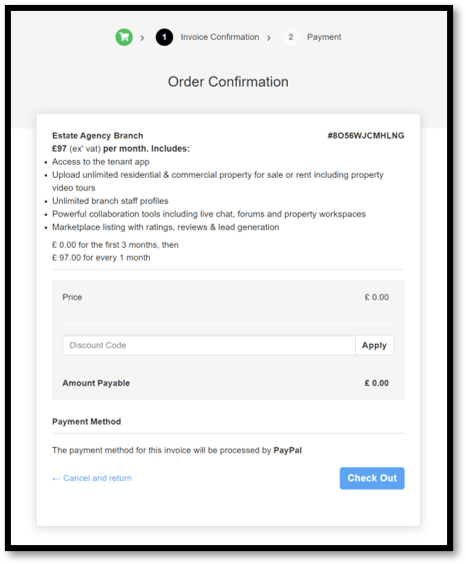
Step 9
Make sure the order confirmation is correct, for example if you are taking advantage of a promotional offer make sure the invoice includes this, then click Check Out.
Step 10
You now need to select your preferred payment option. This MUST be completed in order for your account to be activated. You can cancel this subscription anytime via your Paypal dashboard.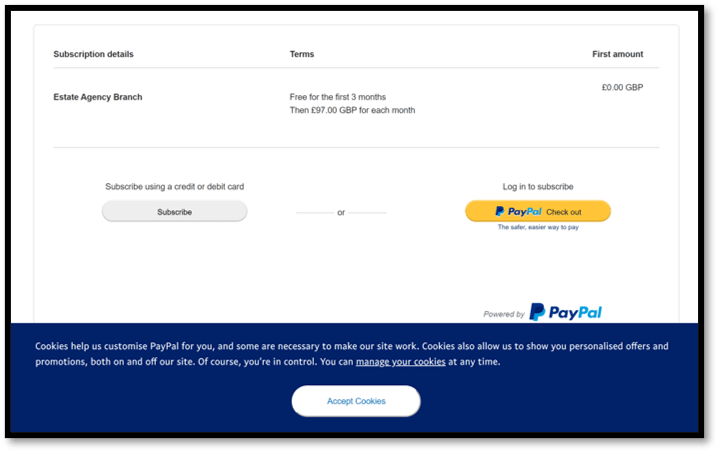
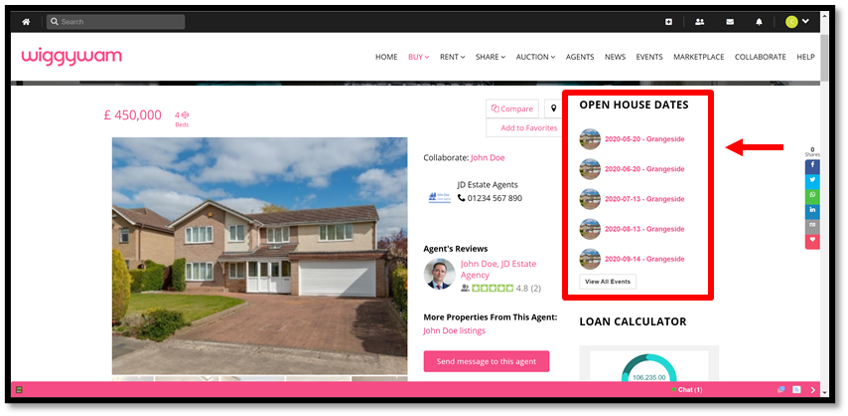
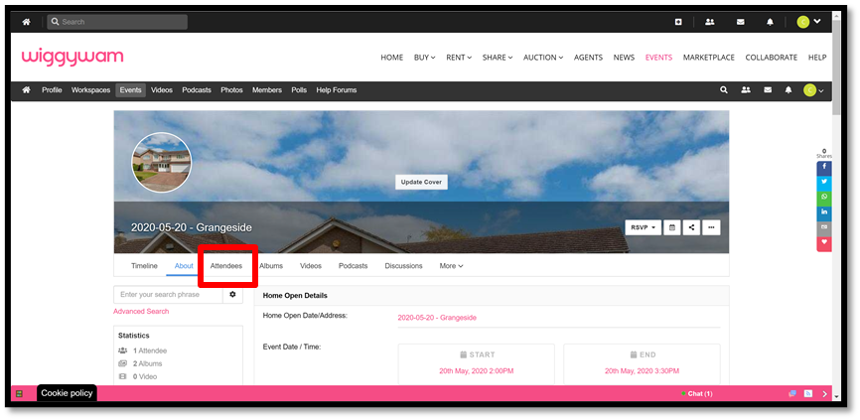
Step 11
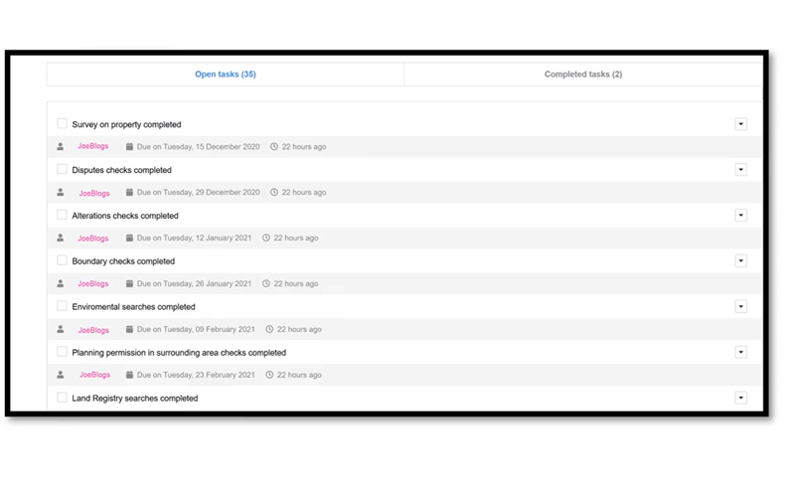
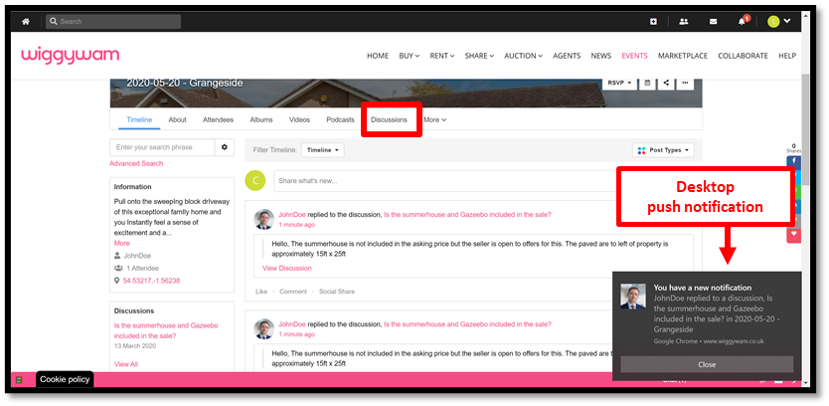
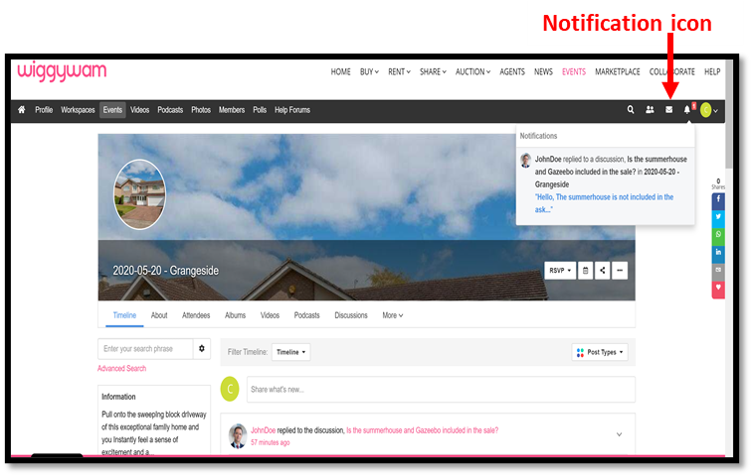
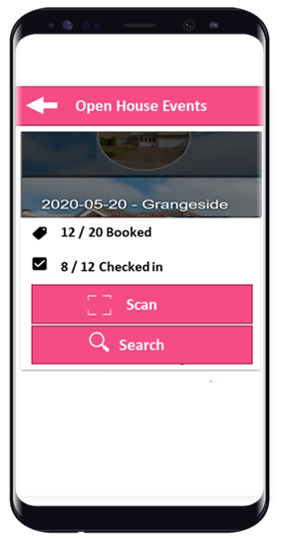
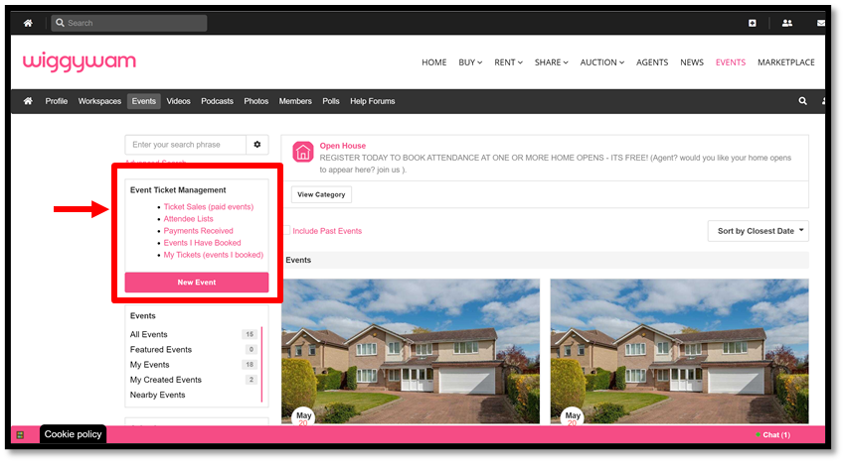
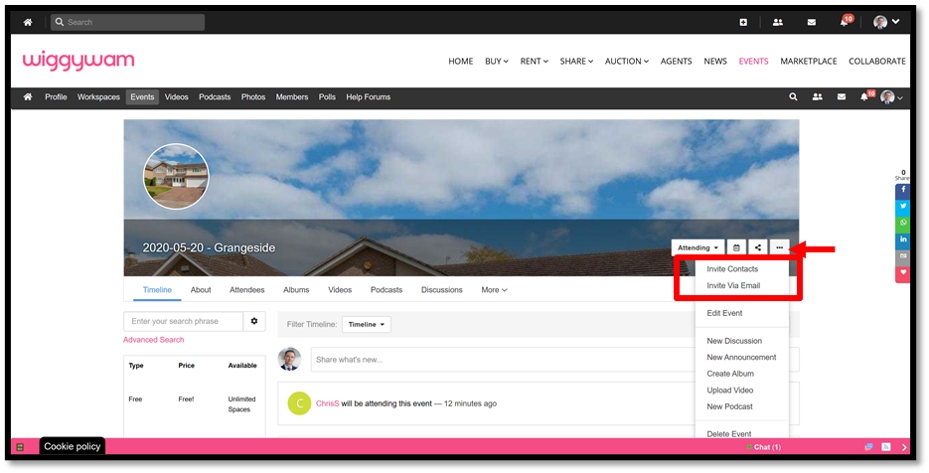
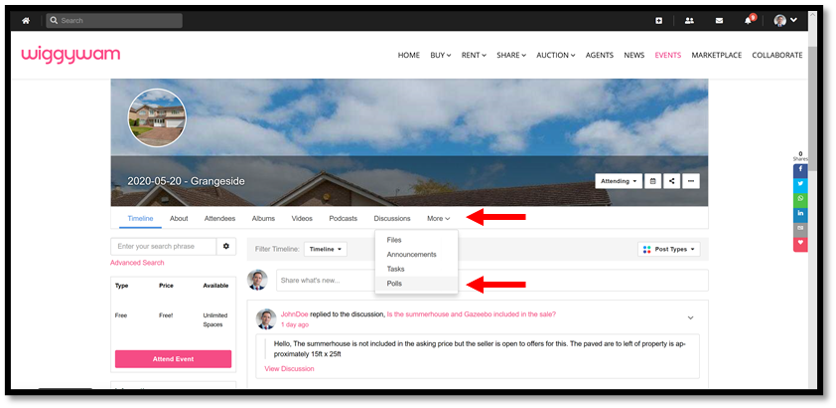
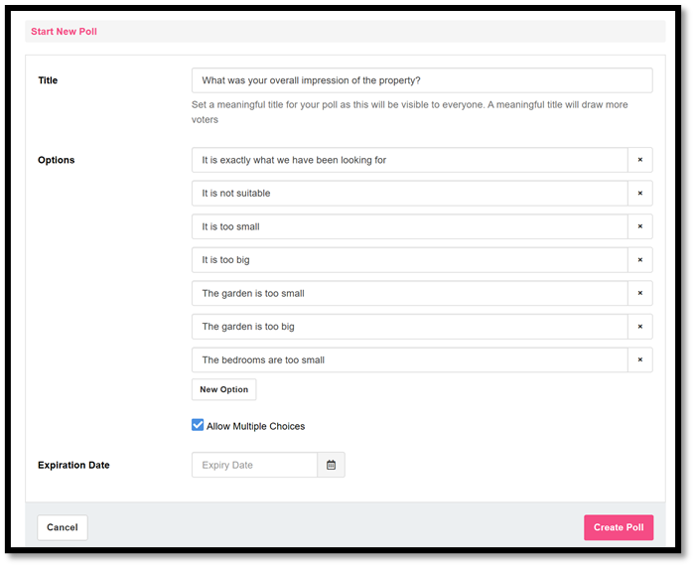
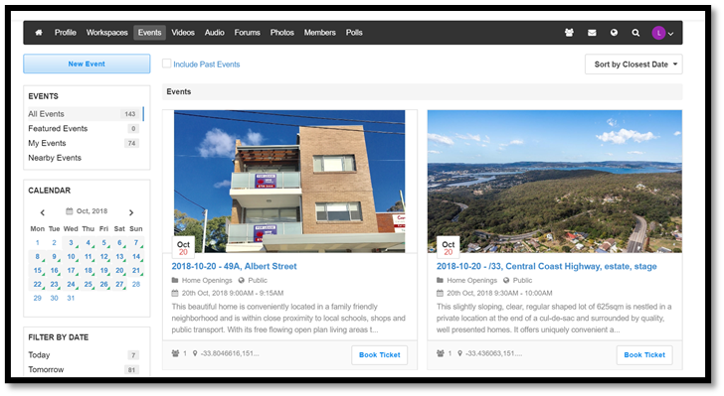
Visit your events on WiggyWam to check bookings, attendance etc. and view any questions, comments or poll results related to the viewing/property.
A discount code will be sent to the branch owner/manager. This can be used by your branch staff to setup their FREE profiles on WiggyWam. The steps for registration are the same up to Step 6 (they need to choose the Company name from the dropdown list - and NOT create a new one). This process will attach them to your branch. At the subscription screen Step 9 they will need to enter the discount code.
Step 12
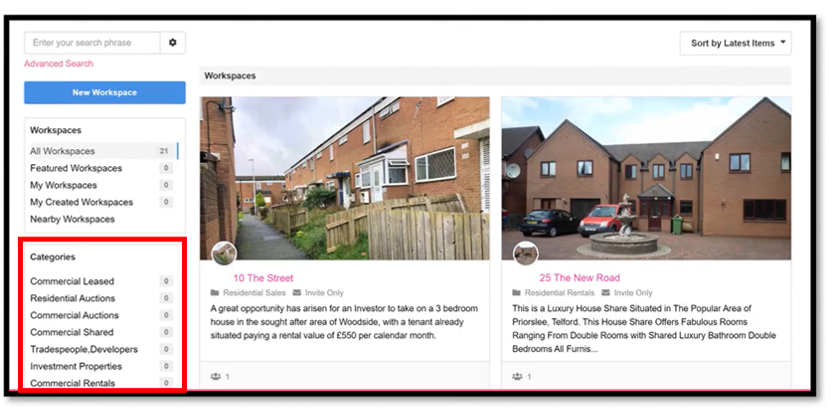
When you first login, go to Marketplace and search for your listing. If any of the details are incorrect click on the cog to edit them. Your regulatory body memberships should also be visible top right of your page.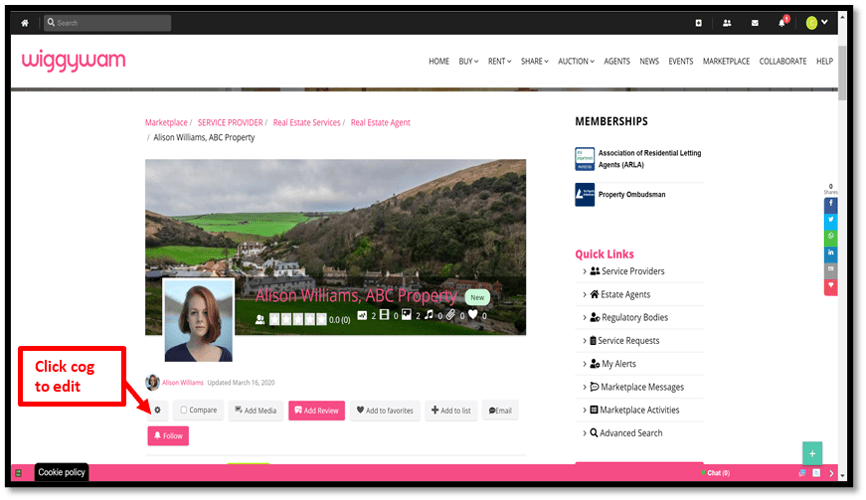
Step 13
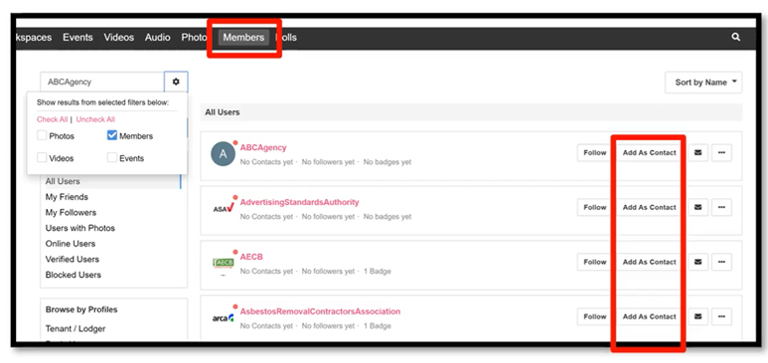
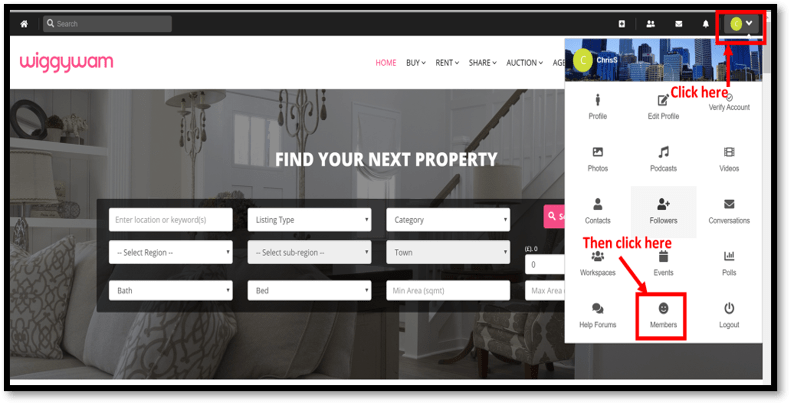
Search WiggyWam existing members for anyone you know and send a connection request. Once logged in, you can access the members area by clicking on the toolbar dropdown then selecting Members
Step 14
You can enter a keyword search, use the Advanced Search or use the Sort feature. Then click on Add As Contact and/or the Follow button.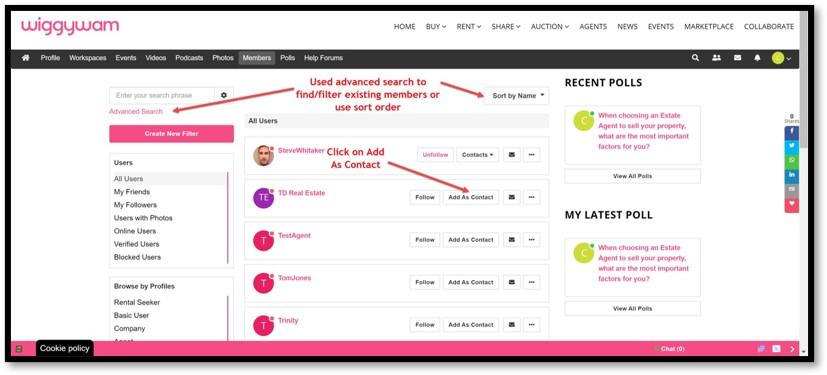
Step 15
- Share WiggyWam across your social channels. Email colleagues, service providers, friends and family – invite them to register and connect with you.
- Invite clients to post reviews (these are visible on all your property listings).
- Start conversations: join discussion, post questions/support requests in the forums.
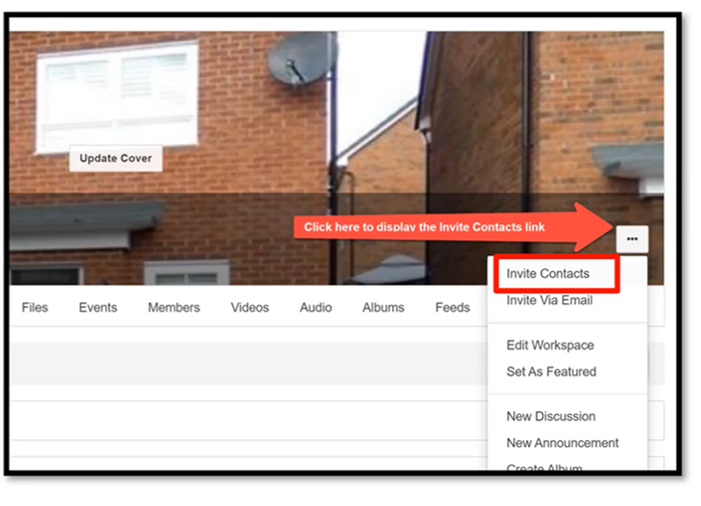
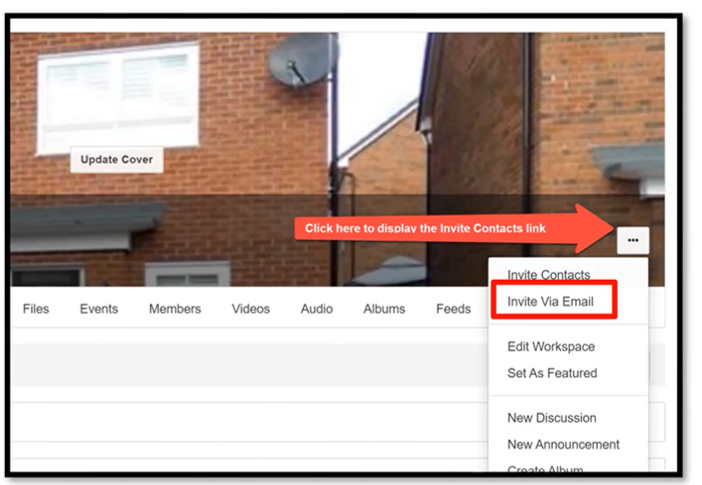
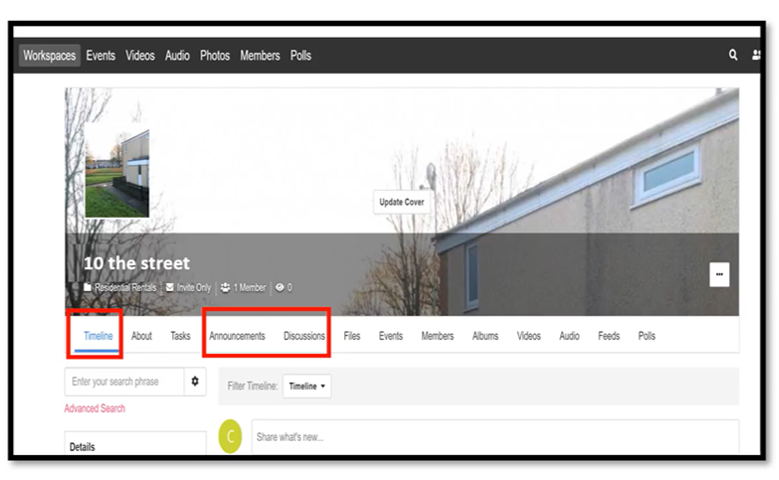
- Invite you current sellers into their property workspaces to update them on progress.
Step 16
Invite tenants to rental workspaces: these can be used to manage communications between letting agents and tenants. You can invite others to the rental workspace (e.g. landlords, maintenance/trades) or create separate workspaces for each of those. You can also manually create workspaces for properties not currently on WiggyWam.
Step 17
Download the WiggyWam Tenant App. If you experience problems downloading or have any questions then email us. Be sure to send invites to prospective tenants to do the same:


Step 18
Email your portal feed provider to authorise uploading of your properties to WiggyWam. To save time you can copy and paste the following message into your email to them (please replace the text within the [ ] with your own).
Note: this message must be sent by the branch manager/owner.
To [Your provider's support team],
We have recently subscribed to www.wiggywam.co.uk, a new UK propertry platform and would like to have our properties automatically uploaded to them. Please accept this email as my authorisation to upload all [commercial and residential properties for sale or rent].
WiggyWam portal feed support contact details:
Name: WiggyWam Support Team
Email: support@wiggywam.co.uk
Website: wiggywam.co.uk
Tel: 01202 827737
WiggyWam have informed us that they will be in touch with you shortly regarding the setup for our branch.
Yours sincerely
[Your name]
If you need help with this please post a support request in our forums